It is easy to test mobile applications on real devices. But it requires huge infrastructure which is difficult to maintain in the starting phase of SDLC. In the starting phase of SDLC, testing the app regressively is important. But without infrastructure, is it possible? Yes, it is!
Mobile apps can be tested on desktops with the help of emulators and simulators. Emulators and Simulators mimic your mobile device hardware and software on your desktop. One of the populator emulators which is well known comes bundled with the android studio (Android Emulator).
Simulators let you run your iOS application on the desktop by mimicking iOS hardware and software in XCode. Let’s know more about emulators and simulators in detail.
Emulators
They are virtual devices that provide very good native-like control such as brightness, geolocation, and battery state. Emulator emulates the processor architecture with which it converts ISA (Instruction set architecture) instructions to the binary language which then acts as an input to the desktop. The major drawback is that emulators are a bit slow compared to real devices. This is because of the overhead in conversion to binary instructions.
The performance of an emulator can be enhanced when the ISA of the device which you are emulating matches that of the desktop. But that is very difficult to incorporate. The reason is that mobile devices run on ARM architecture whereas desktops mostly use Intel architecture.
Let’s look at the two most famous emulators: Genymotion and Android Emulator in the below mobile app testing tutorial.
Genymotion Emulator
It is easy to use android emulator which is widely used for testing mobile applications on the desktop. Its performance is fast as compared to the android emulator which comes as part of android studio. Let’s look at the steps to use any motion emulator.
Download the Genymotion Emulator. Create an account on their site and you are all set to download. You can download a free version of the genymotion emulator for all operating systems.

After download, follow the popups and install the genymotion emulator on your desktop. After successful installation, launch genymotion emulator.

You will be prompted to make an account on genymotion or log in with credentials. Enter your credentials. Further, you will be asked for the purpose you will be using a genymotion emulator. You can choose your personal choice and click next. Now, you are all ready to create your virtual device. Click + to add your virtual device. You can create as many virtual devices as possible on your desktop depending on the RAM your system contains.

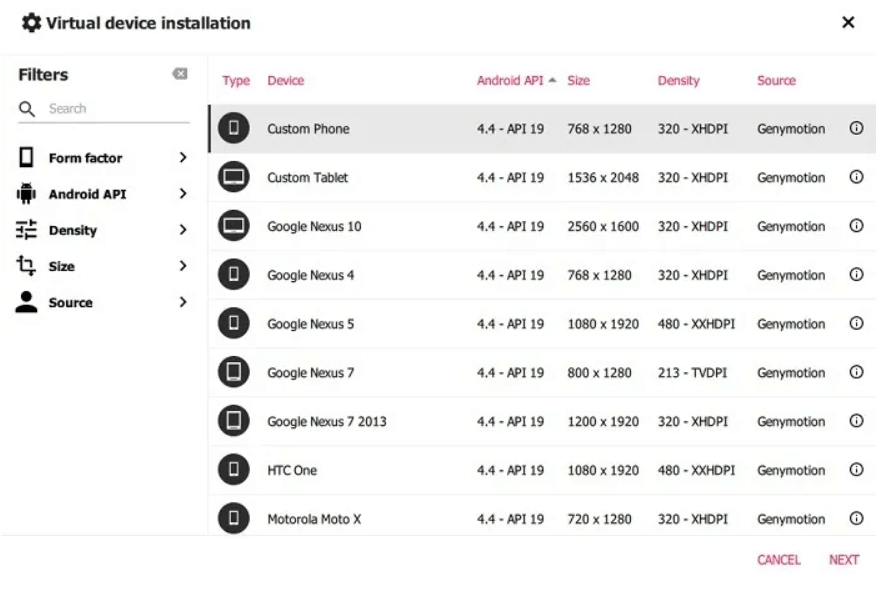
You can further choose the configuration which you want to mimic. For the first use case, choose a custom trial with API 19 android API. You can define processor, memory size while creating your virtual device.

Once you will click on install on the next screen, it will take some time to set up your emulator. After the device is installed, you will be able to see your emulator in installed devices on the genymotion emulator home page. You can boot the device and within no time, the emulator will start running.

You can now test your mobile application by dragging it from your desktop to the emulator or by installing it from the play store. Genymotion is free, and one of the fastest emulators for mobile app testing. It is widely used in the industry these days.
Android Emulator
You first must install android studio for running the android emulator. Visit the website to download android studio for free. Once it is installed in your system, launch it.

Android studio works on a 64-bit processor and is depreciated for 32-bit processors. You must have SDK tools 26.1.1 version or higher for the android studio to run. Click on the top right section icon known as SDK manager to install the APIs which are required for your virtual device. SDK Manager and AVD Manager are part of mobile testing emulator tools.

Once you have installed the required set of APIs it’s time to create your device. For the creation of the emulator, we have to open an icon known as AVD manager on the top right corner.

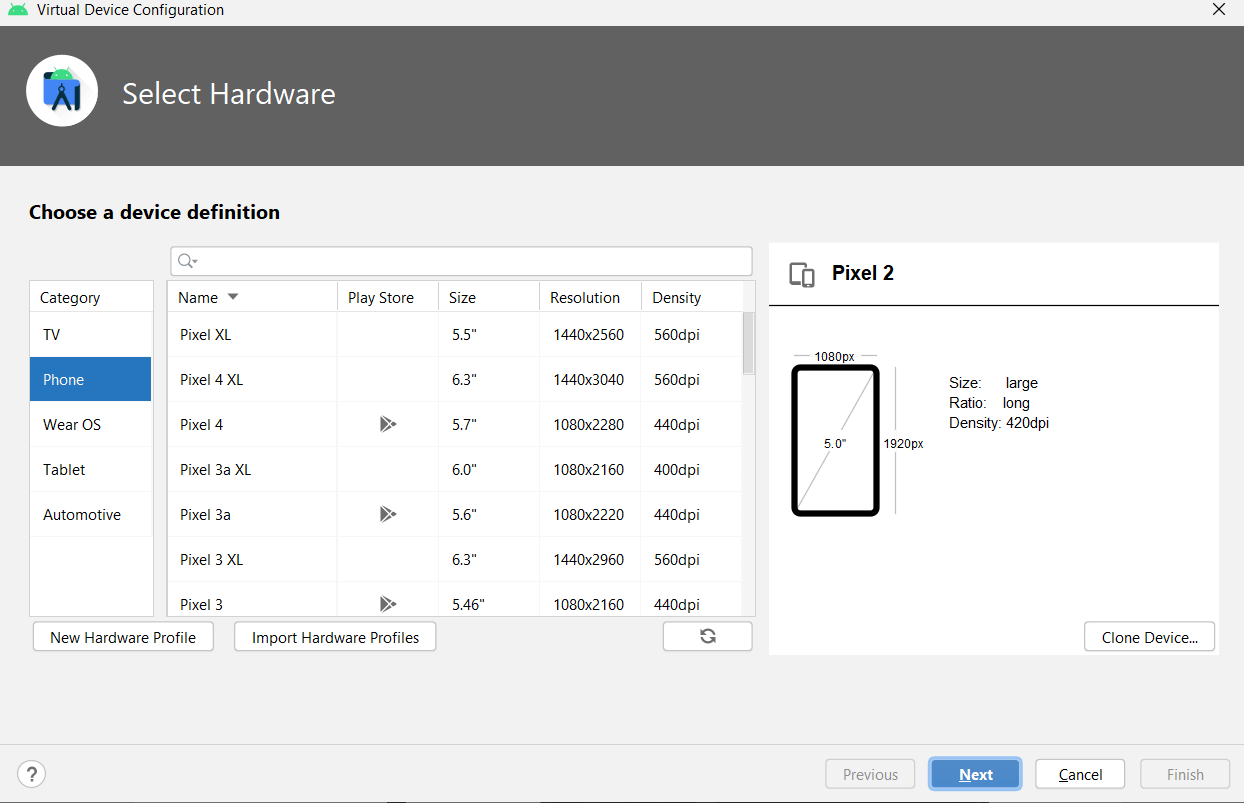
You can click on create a virtual device to create your device. You can choose the configuration and mobile which you want to emulate.

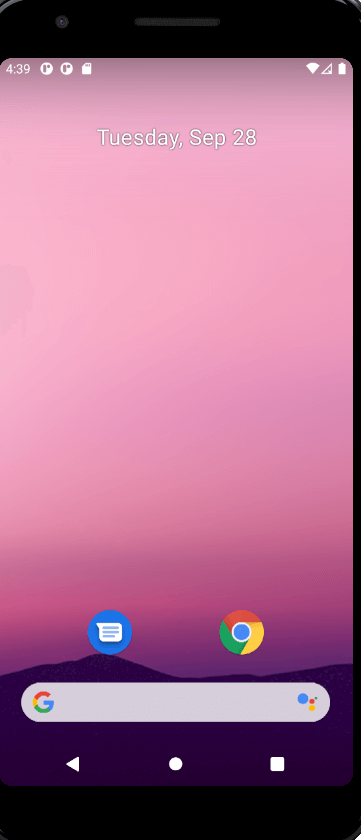
After the successful creation of your device, you can launch it from AVD Manager with a green icon. Once you will hit it, your device will open.

It took almost no time to run this. You can drag and drop your mobile app to install it or you can use the play store on your mobile device to install your application. It is a very easy-to-use virtual mobile device emulator it comes as part of android studio and can be used for all mobile app testing scenarios.
Simulators
You are now aware of android emulators but what would be the scenario when you have to test your device on an iOS device. No need to search for a mobile simulator online. It’s time to install Xcode so that we can run an iOS application on the XCode simulator. Download XCode on your Mac machine. XCode gives you IDE for mobile application development and testing.

After downloading the simulator, you need to have an iOS simulator environment. You need to launch XCode and navigate to Preferences and download the iOS version on which you want to test. After your iOS version is installed, then you need to navigate to Developer Tools -> Simulator. This will give you the option to create your simulator and launch it. There, you are all set to test your iOS application on the XCode simulator. There are many online mobile simulators for testing but the XCode simulator is a widely used simulator and is no doubt the best simulator for mobile testing.
Advantages of using Emulators and Simulators
Testing on emulators and simulators is very easy as the download of these is very simple. You can start testing your mobile application without any hassle.
- It is free so it will reduce the cost of infrastructure.
- It is very difficult to set up a big set of tests infrastructure to test your application on all devices with all versions. Emulators and Simulators help in testing on a vast testbed so that chances of bugs reduce to a minimum.
- Screenshots while execution of tests is very easy while testing on emulators and simulators.
Conclusion
It is always good to start using emulators and simulators. But testing on real devices will always be best, and emulators/simulators won’t match up to them because of limitations such as mobile device battery, camera, interruptions, and memory usage. It is advisable to have a mixed approach with testing on both real devices and simulators and emulators.
We need to segregate the test cases in such a way that we don’t miss critical bugs as well as we don’t compromise on the cost of infrastructure. If you still have any doubts, get a free estimation from us, and make your mobile testing process more robust at minimum cost.


